Setup a new project locally
If you're starting a new project, you'll most likely want to create a local project so that you can use tooling such as Git.
Prerequisites
- Node.js - v^18.19.1 or newer
- Text editor - We recommend Visual Studio Code
- Terminal - Required for running Angular CLI commands
Instructions
The following guide will walk you through setting up a local Angular project.
Install Angular CLI
Open a terminal (if you're using Visual Studio Code, you can open an integrated terminal) and run the following command:
npm install -g @angular/cli
Create a new project
In your terminal, run the CLI command ng new with the desired project name. In the following examples, we'll be using the example project name of my-first-angular-app.
ng new <project-name>
If you don't have any preferences, just hit the enter key to take the default options and continue with the setup.
After you select the configuration options and the CLI runs through the setup, you should see the following message:
✔ Packages installed successfully.
Successfully initialized git.
At this point, you're now ready to run your project locally!
Running your new project locally
In your terminal, switch to your new Angular project.
cd my-first-angular-app
All of your dependencies should be installed at this point (which you can verify by checking for the existent for a node_modules folder in your project), so you can start your project by running the command:
npm start
If everything is successful, you should see a similar confirmation message in your terminal:
Watch mode enabled. Watching for file changes...
   NOTE: Raw file sizes do not reflect development serverper-request transformations.
   ➜ Local: http://localhost:4200/
   ➜ press h + enter to show help
Project Initialization
Follow the steps below to start working in the project locally.
-
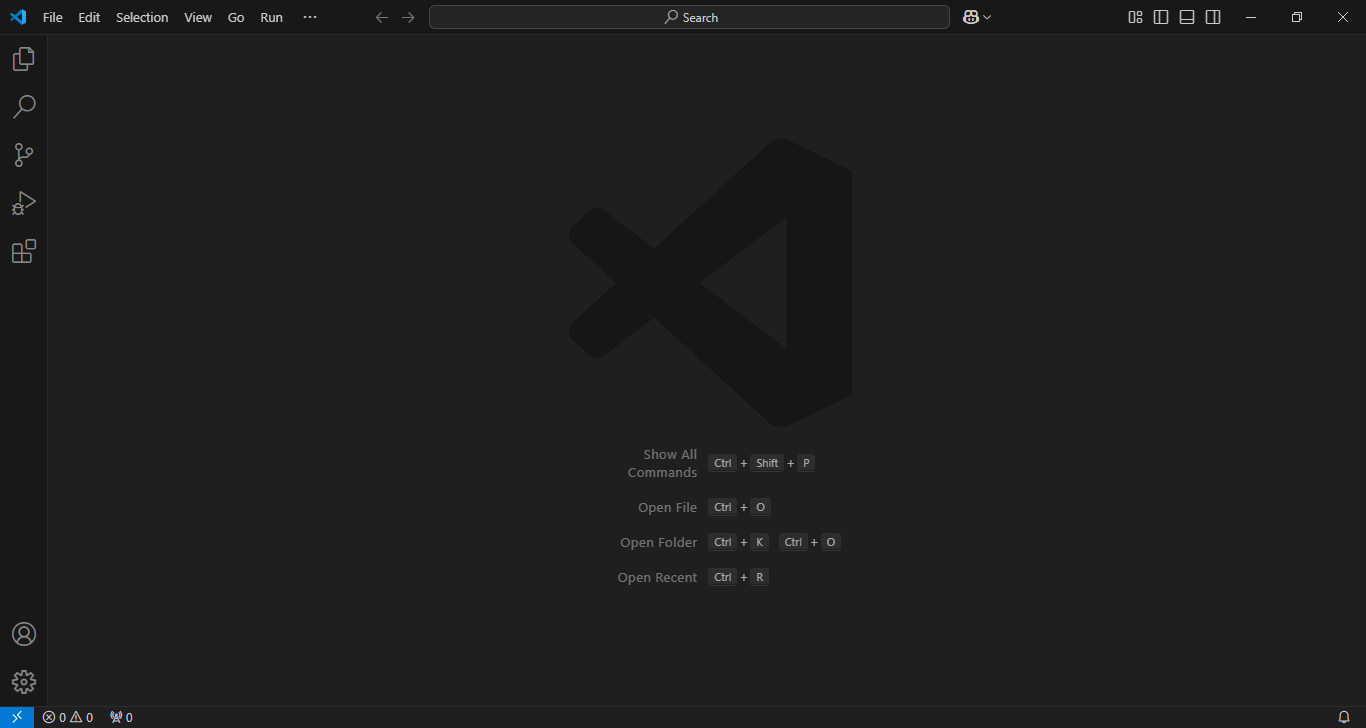
Open the Visual Studio Code (VS code) in your system.
-
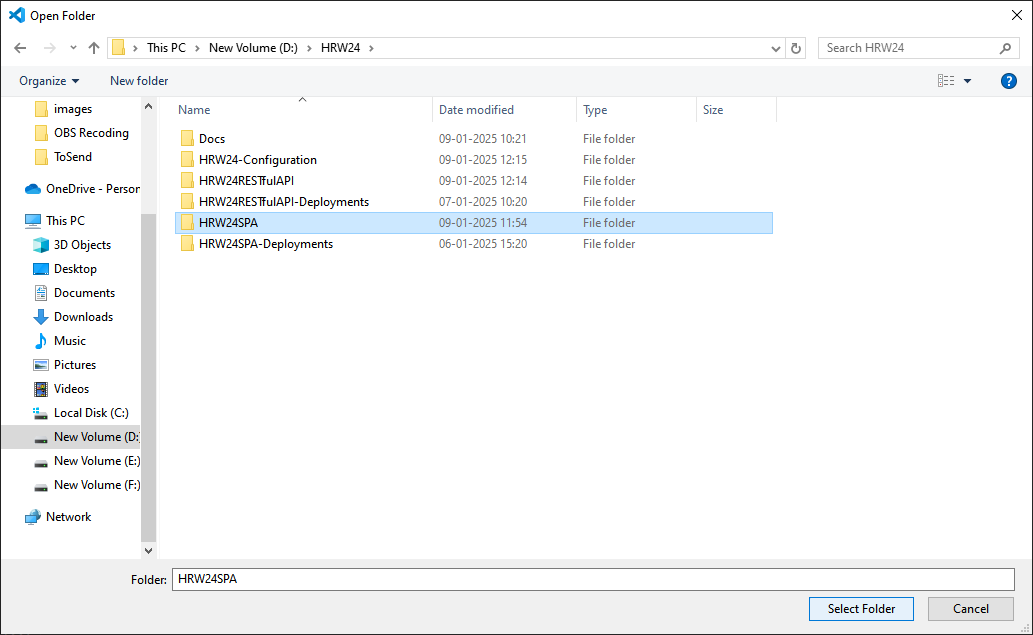
Open project folder (by
File -> Open / Ctrl + O)
-
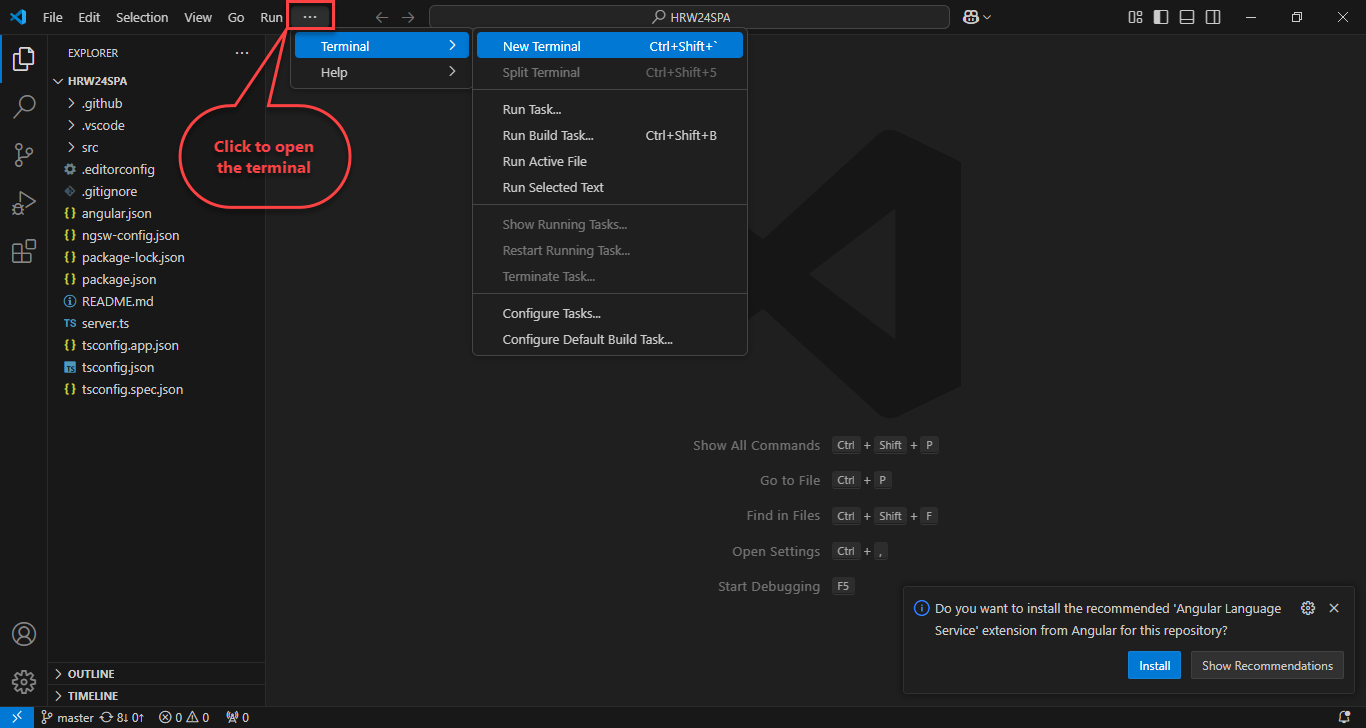
You can see that the project files are comes under the explorer of VS Code
-
Open the terminal by clicking on the more button
-
Type the command
npm installto install packages to the path specified.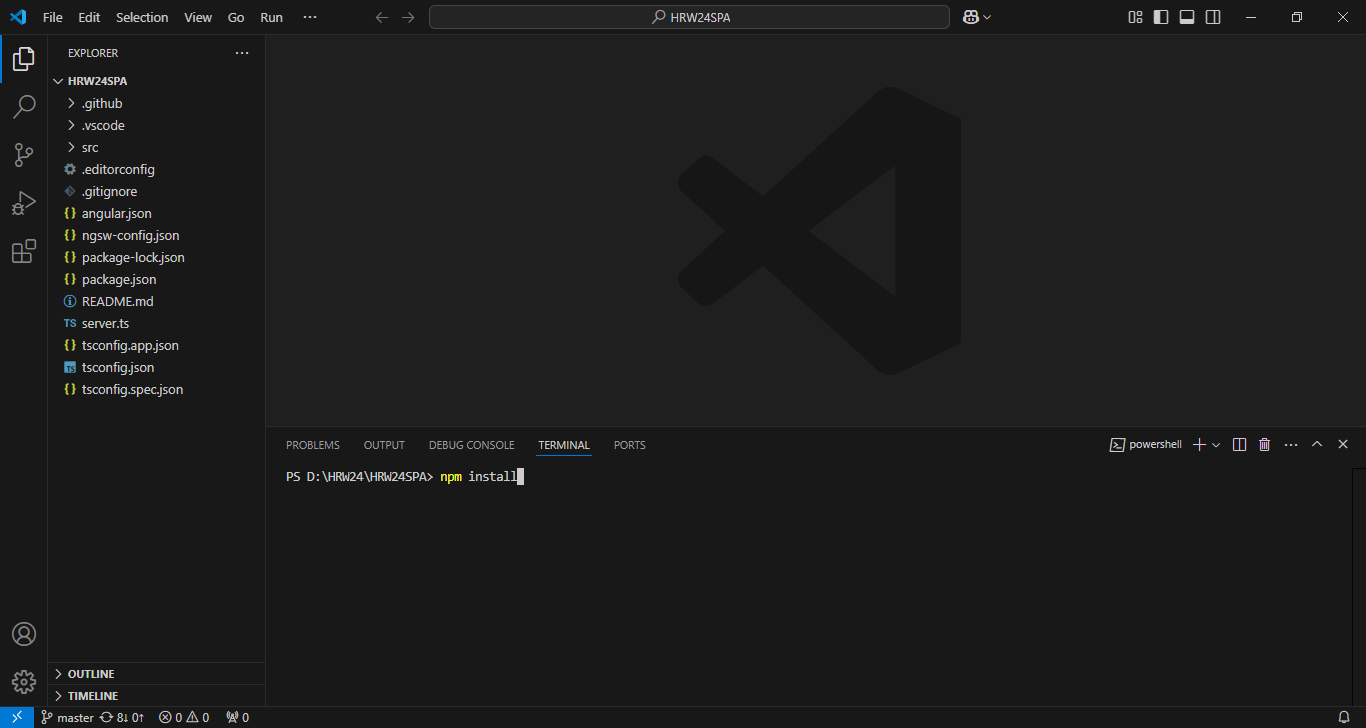
-
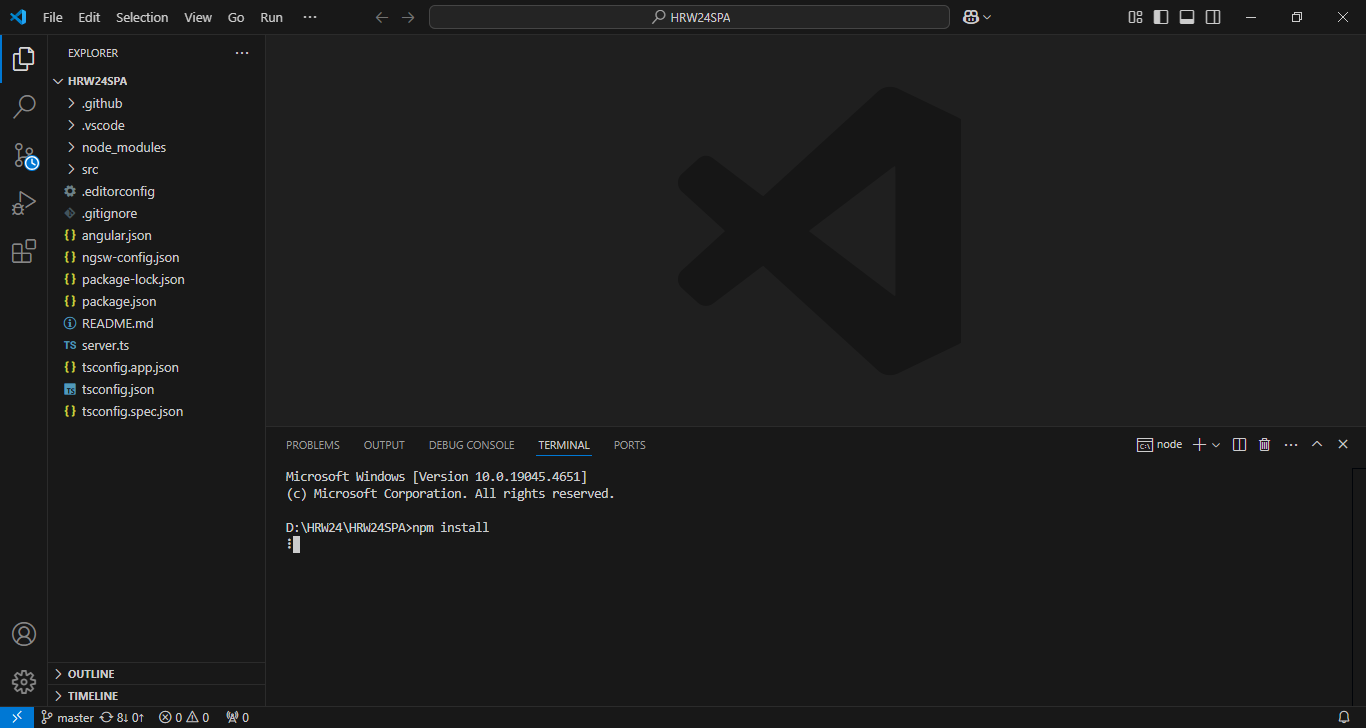
The installation progress will show up in the terminal.
-
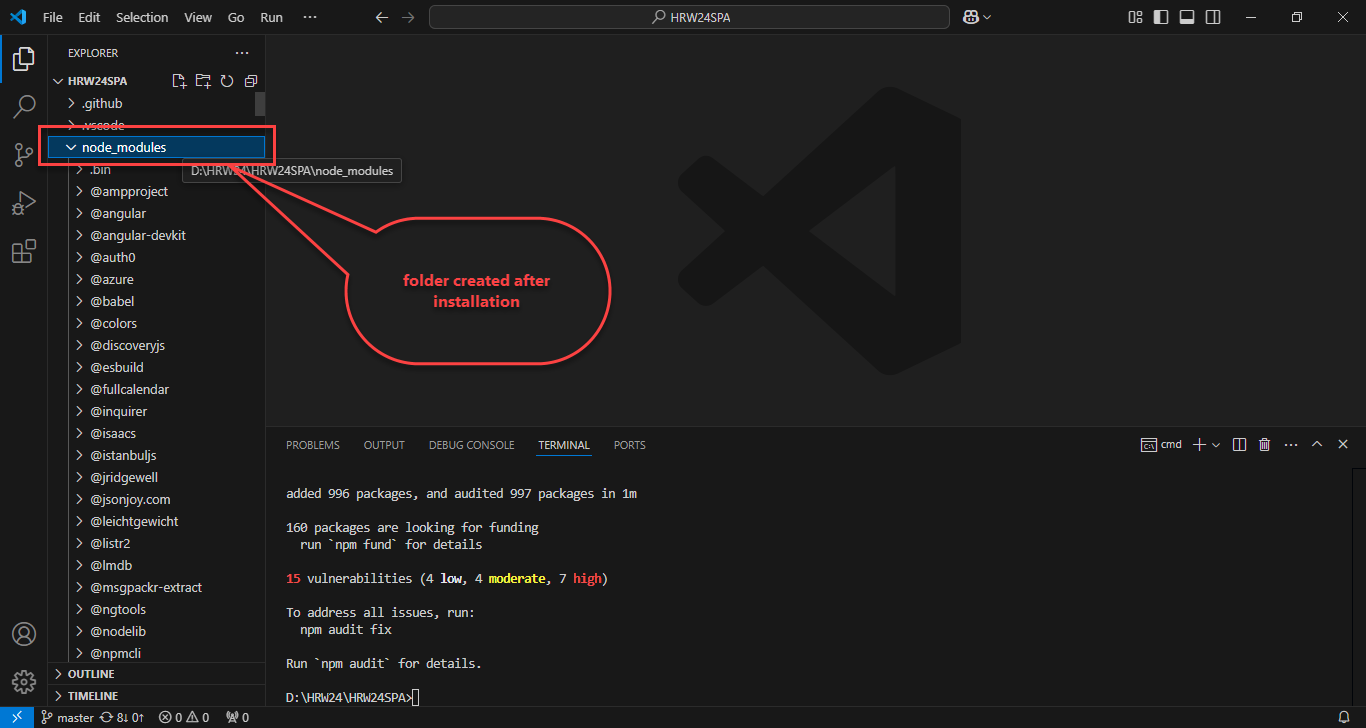
So the installed modules will comes under the explorer.
-
If the installation completed, the status will show up in the terminal as shown in the figure
-
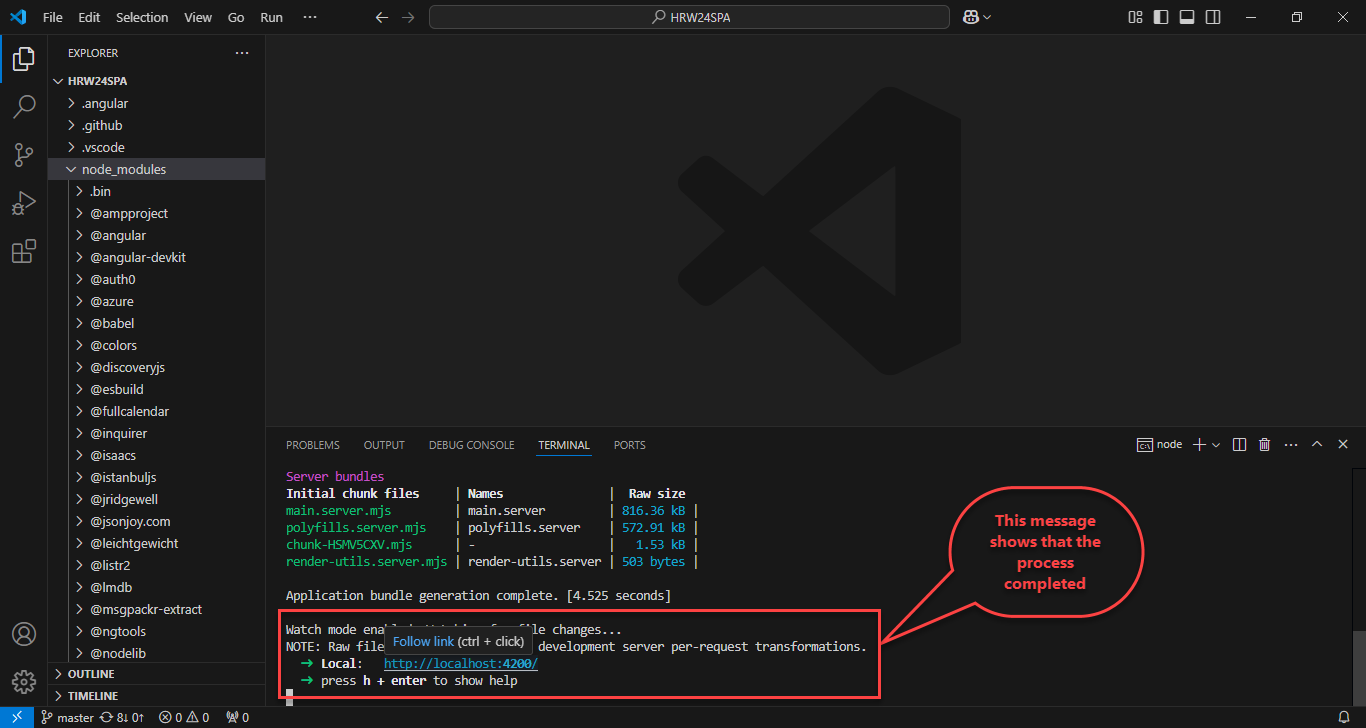
Type the command
ng s --oin the terminal to run the project in the browser.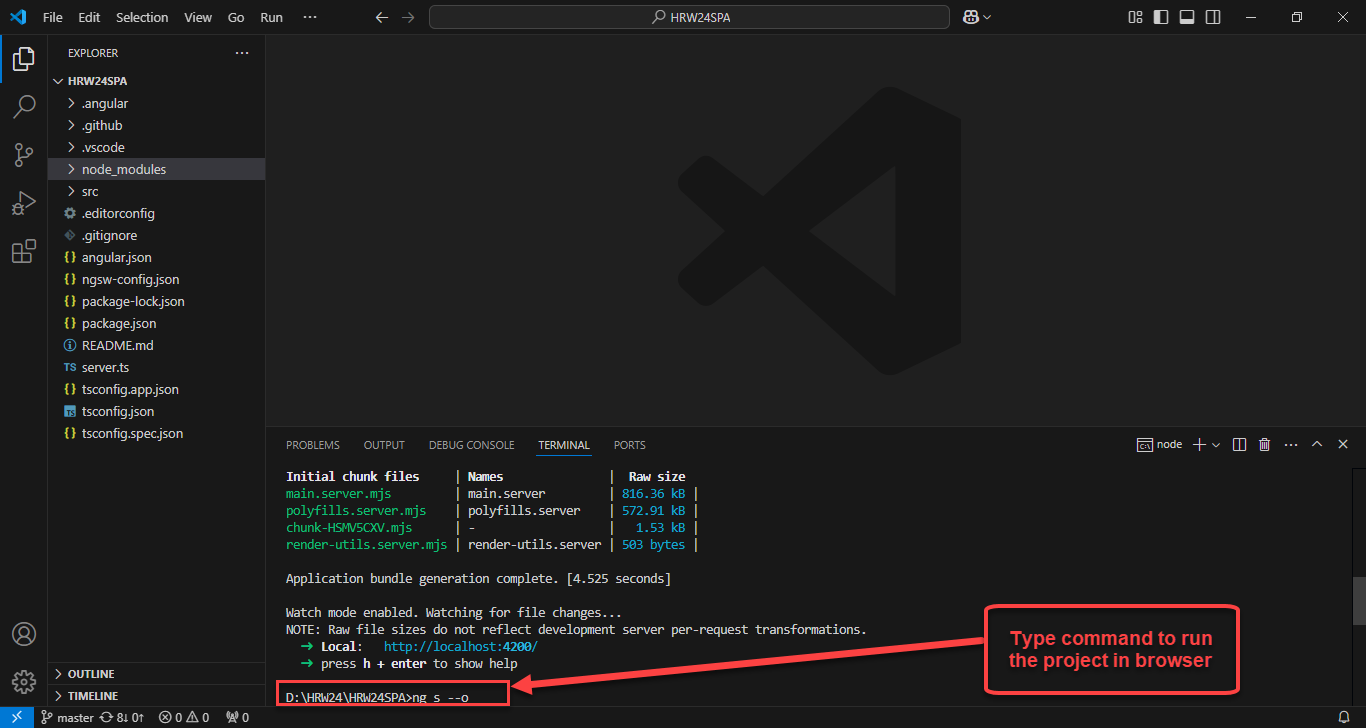
Note:Before running the application, ensure that the config.json file has already been updated by setting up apiBaseUrl and hrwPlusUrl fields. Otherwise set the fields as following: Please navigate to this link and refer the sub step 5 under the Step3.Editing Configuration Files of Testers Guide
-
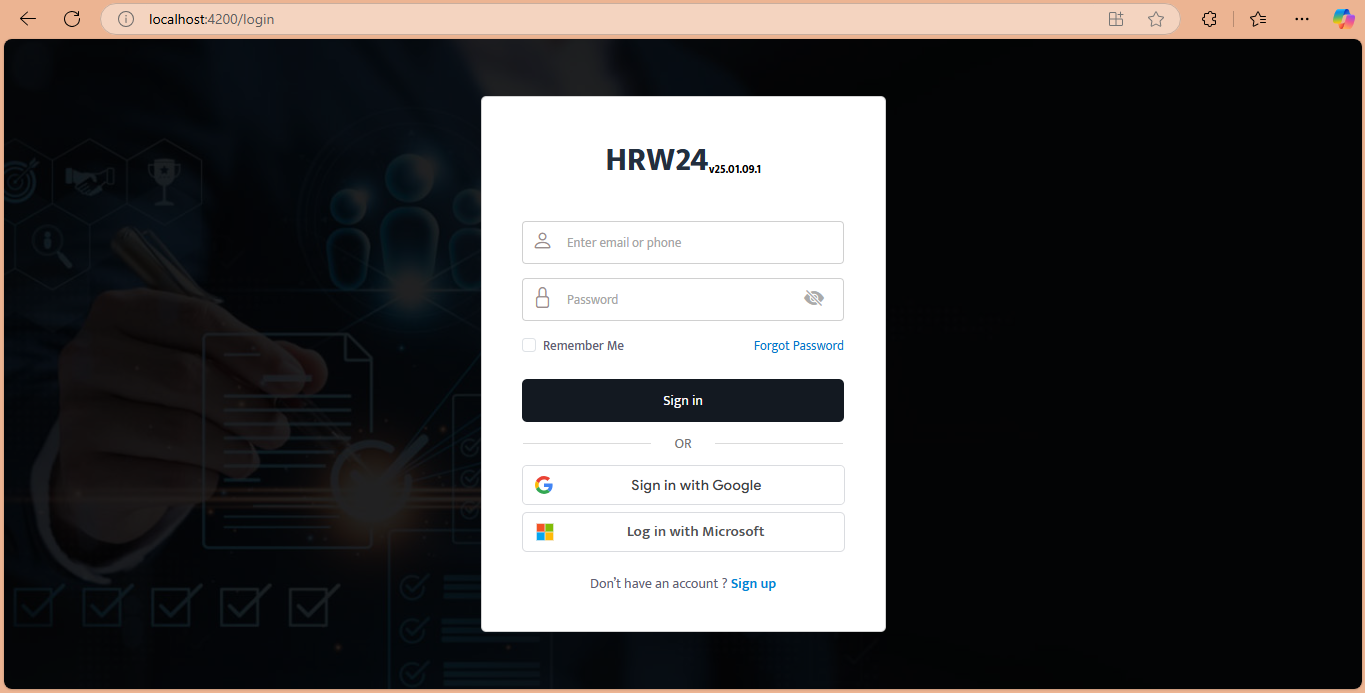
The Login page will load in the browser.