Widget Creation
Different types of widgets can be created using various data-driven charts. Each widget can be named and customized based on the type of chart it represents, displaying employee profiles and statistical data. The simple interface in HRW24 allows users to easily create widgets and edit them later as needed.
The steps for Creating and Editing Widgets are described below:
-
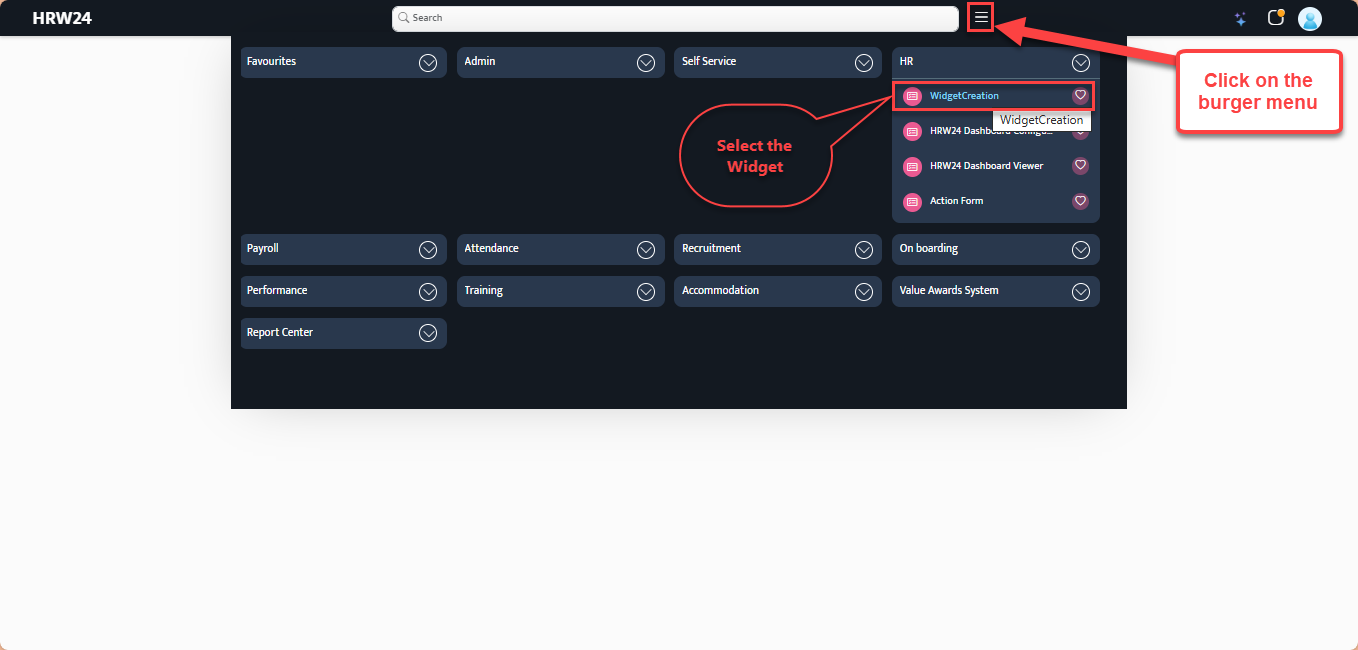
Open the Widget Creation page by selecting the Widget Creation option from the menu that appears when you click the burger menu next to the Search bar.
-
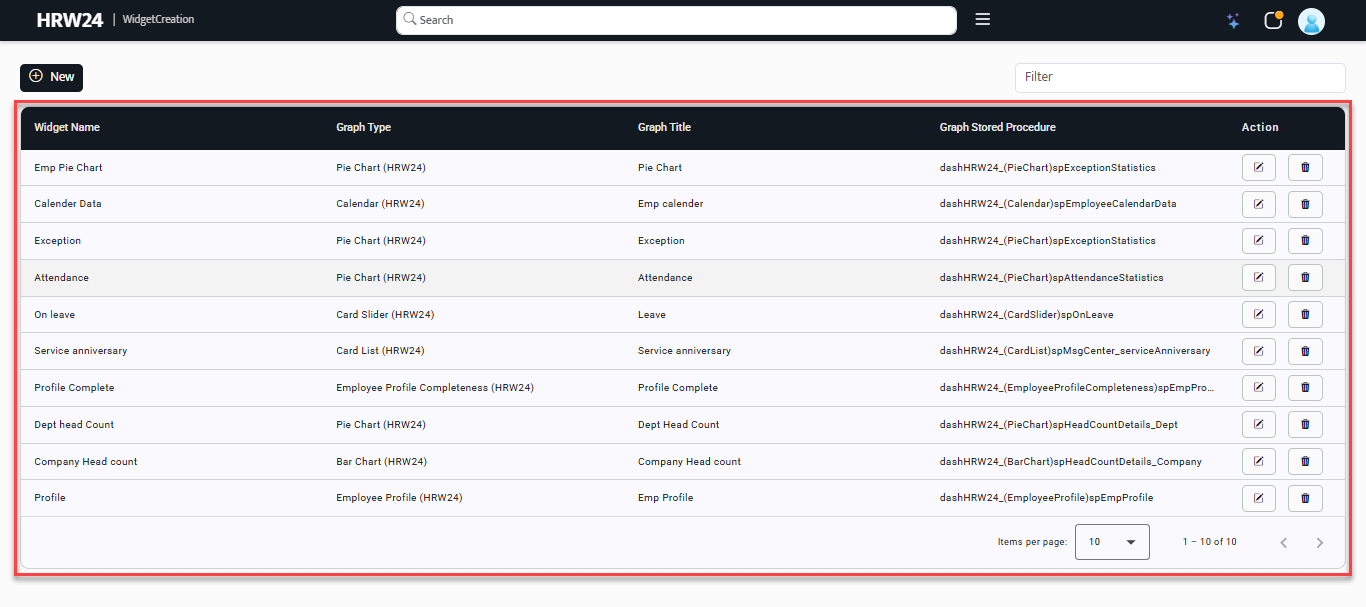
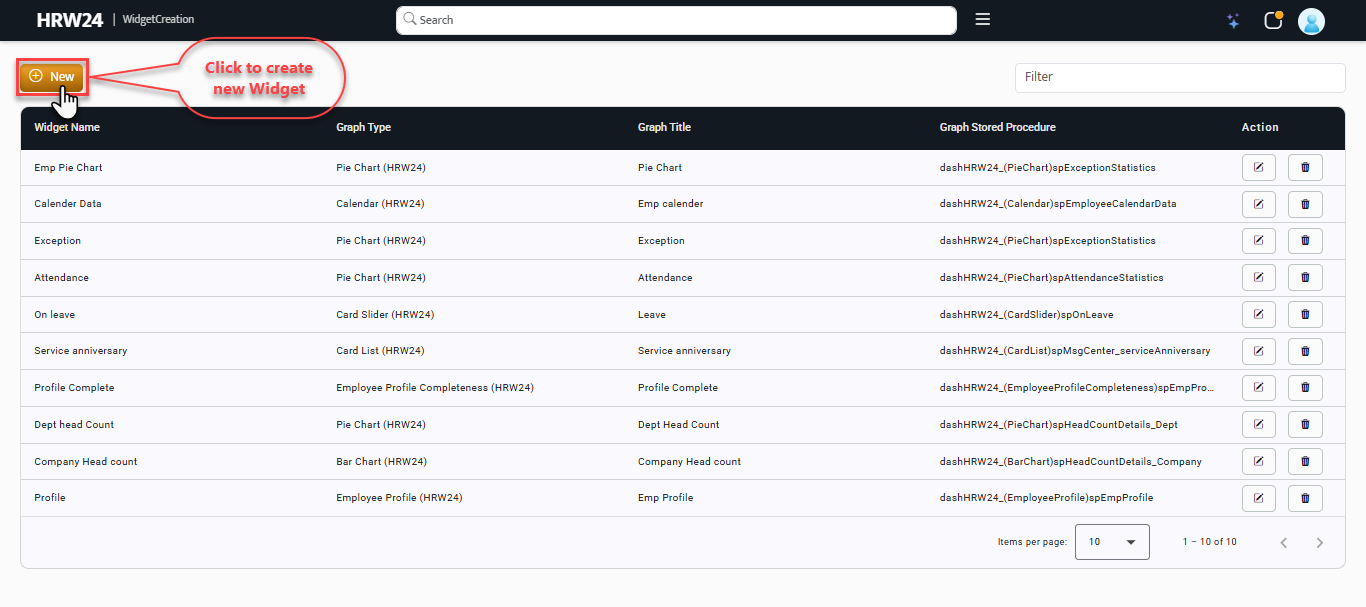
The Widget Creation page opens up, from there click on the New button to Create New pop-up
-
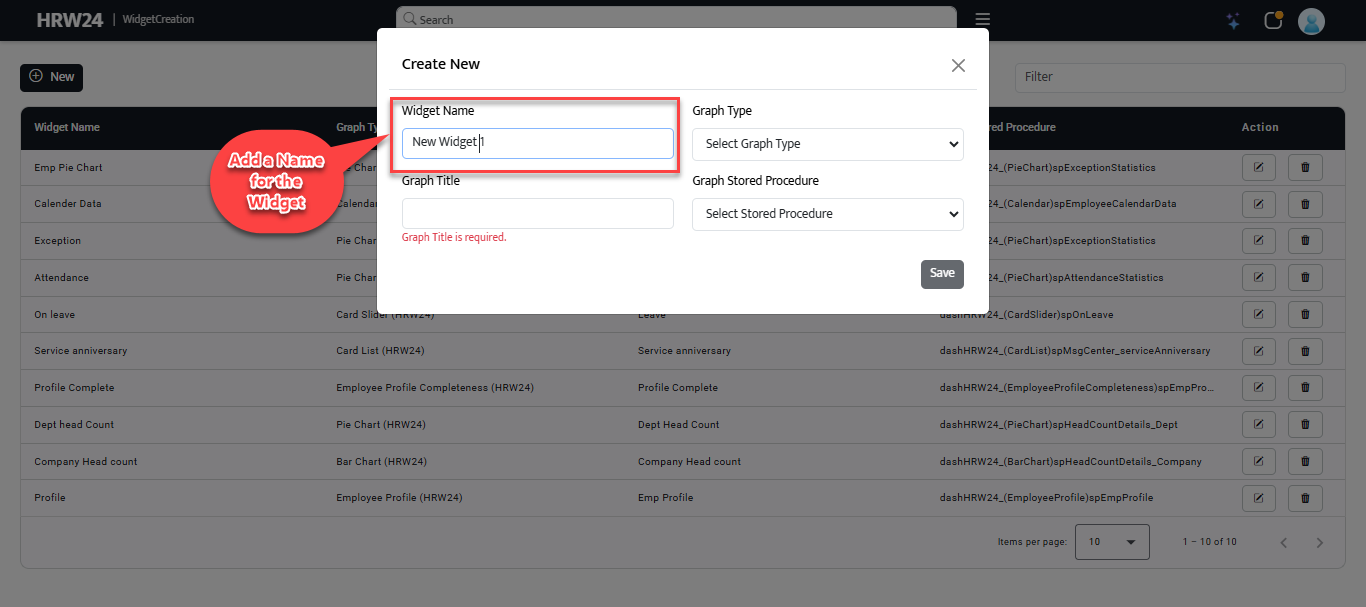
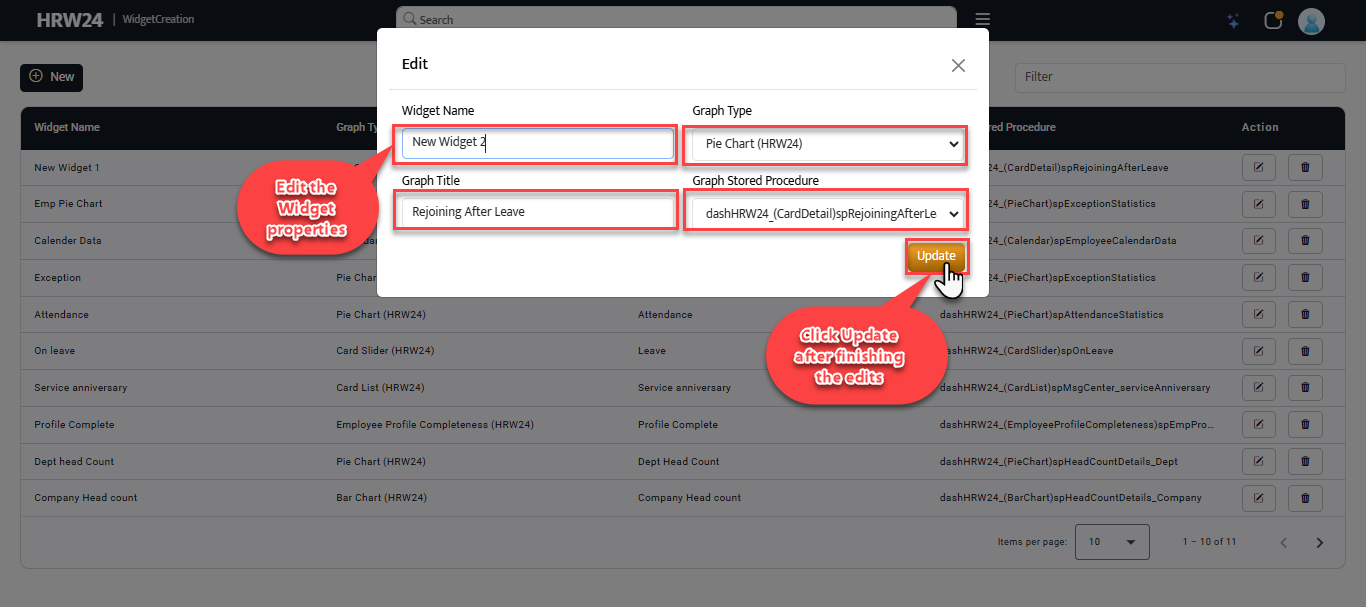
On the Create New pop-up change the properties of the newly creating Widget by:
3.1. Name the Widget: Give an identifiable Name to the widget.
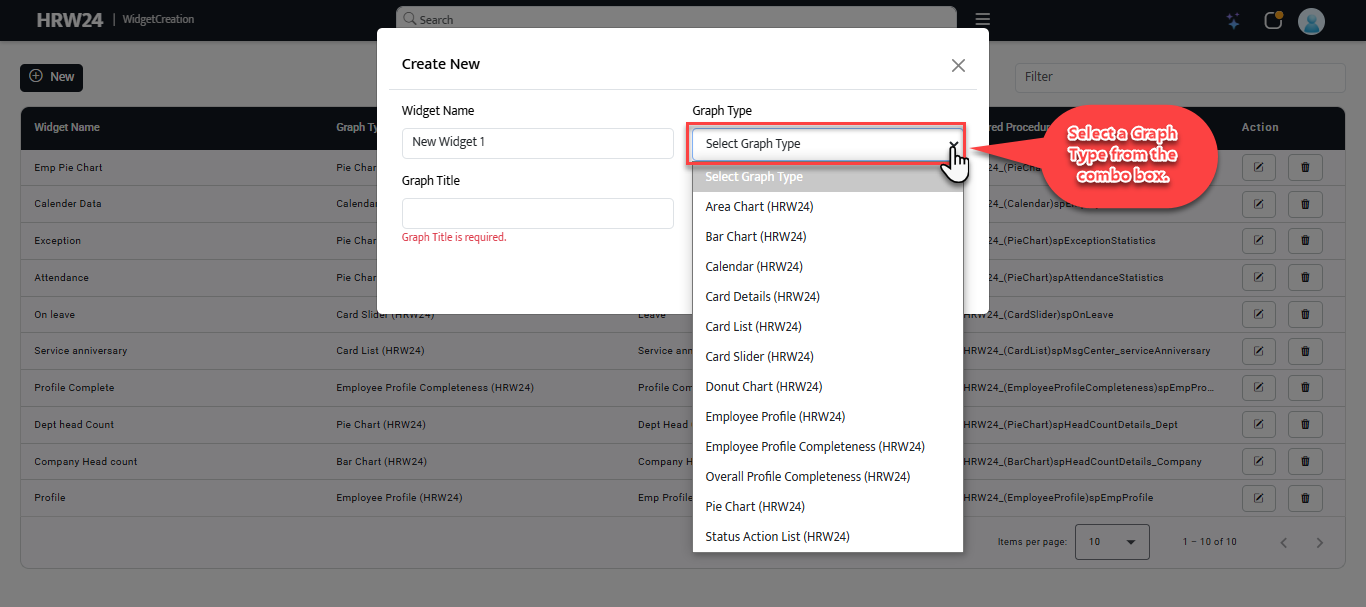
3.2. Select a Graph Type from the combo box.
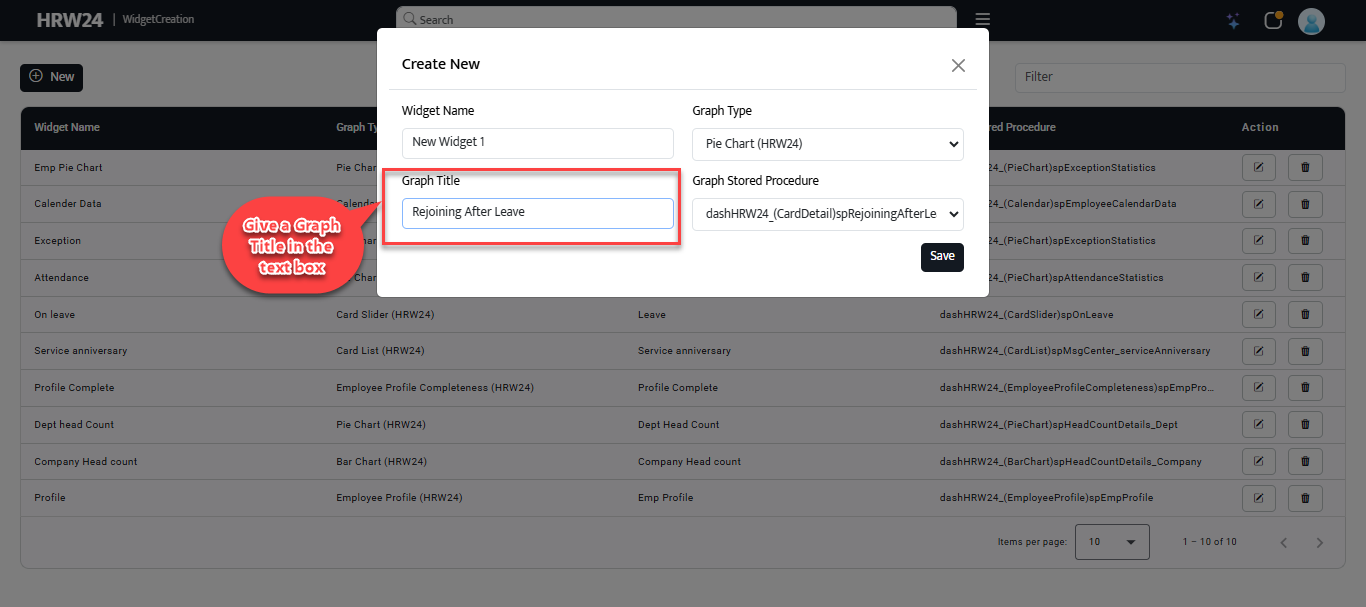
3.3 Select the required Stored Procedure from the Graph Stored Procedure combo box.

3.4 Give a Graph Title in the text box provided.
-
Edit the Widget:Edit the widget by clicking the Edit icon
 in the widget grid under the Action column.
4.1. Edit all the properties inside the Edit pop-up.
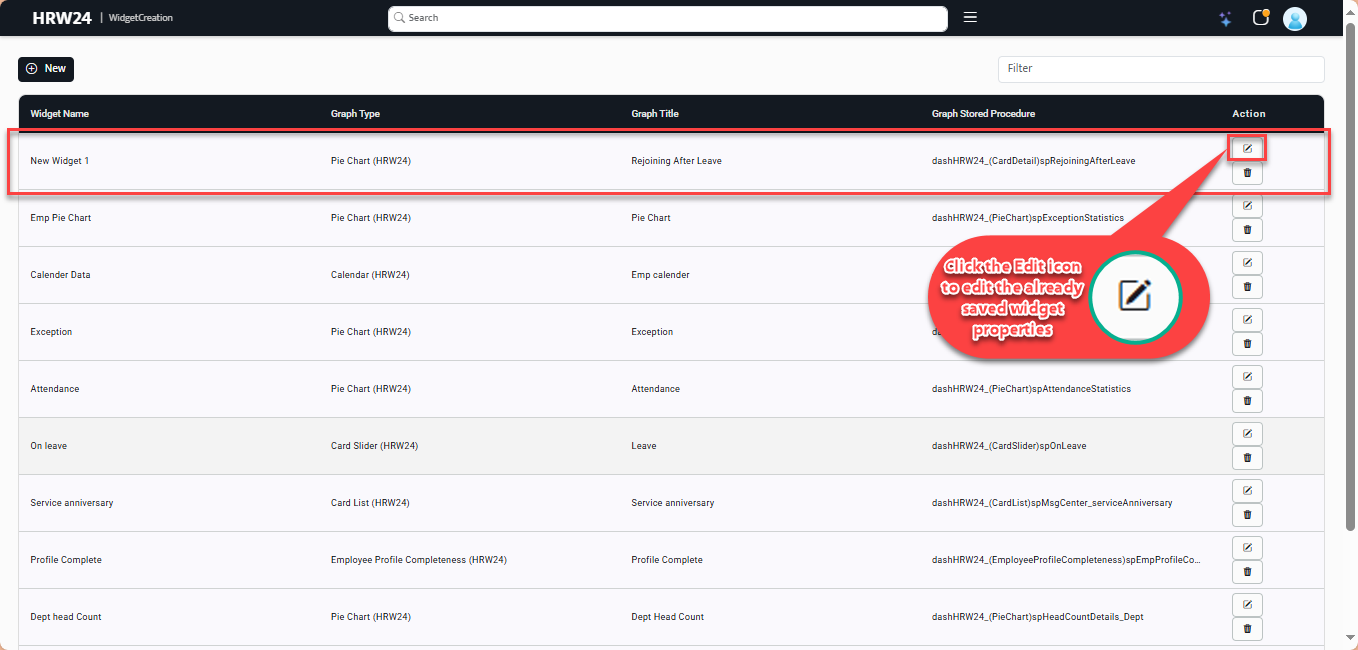
4.2. Click the Update button after finishing the edits.
-
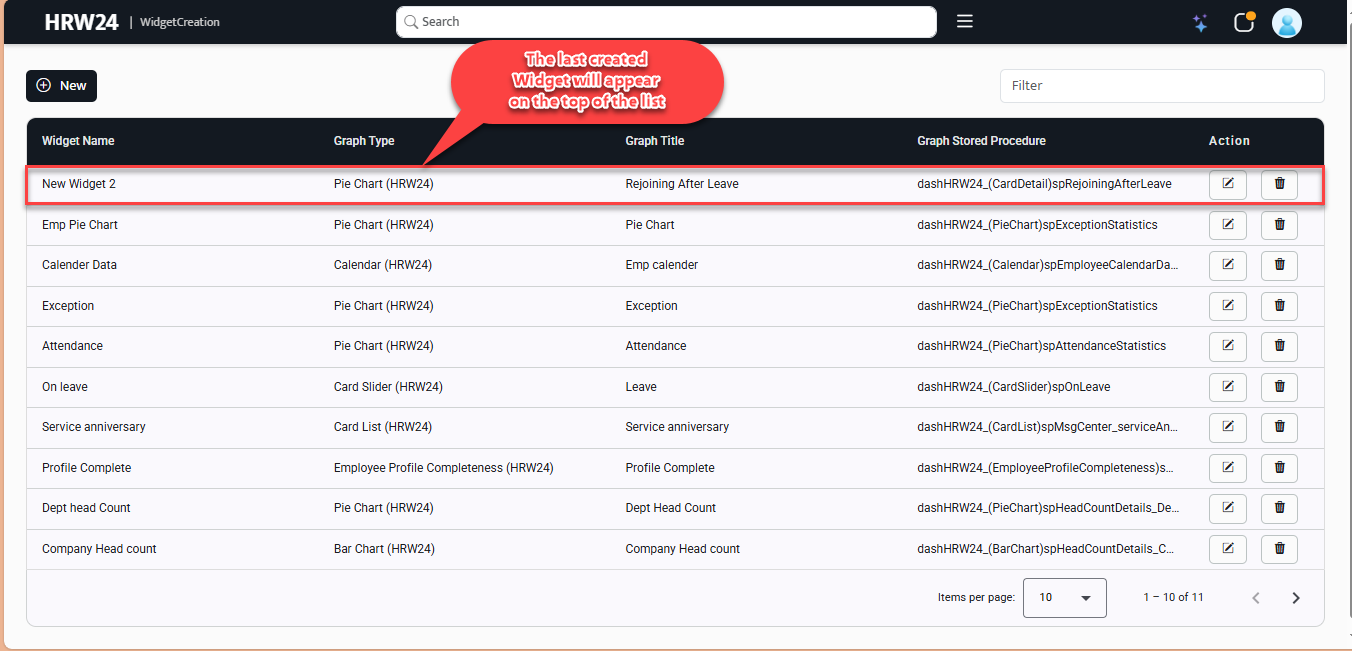
The widget that last created will shown on the top of the grid in the Widget Creation page.
-
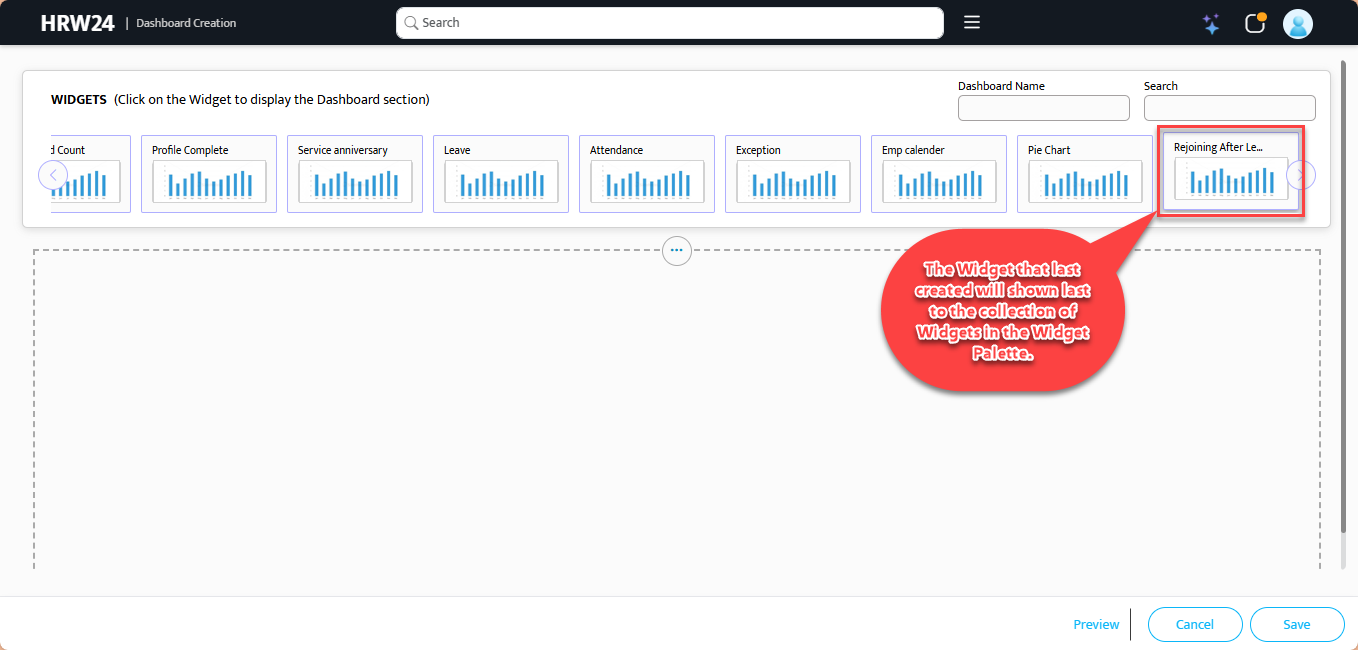
We can use our widget from the HRW24 Dashboard Creation page, which will be added at the right end of the widget collection under the Widget Palette.